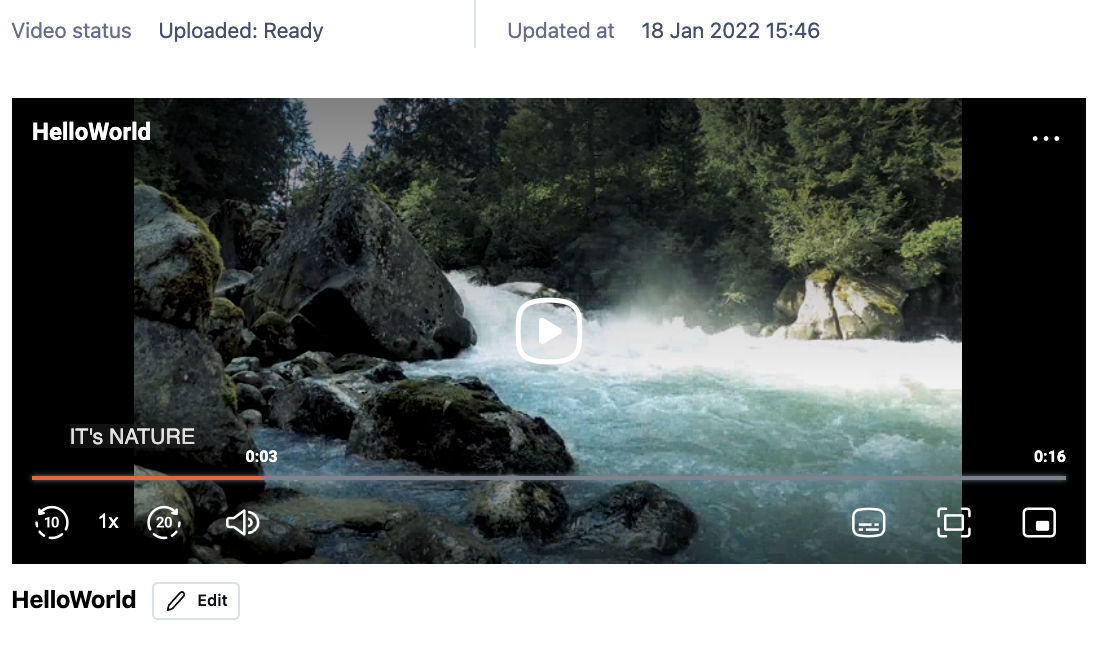
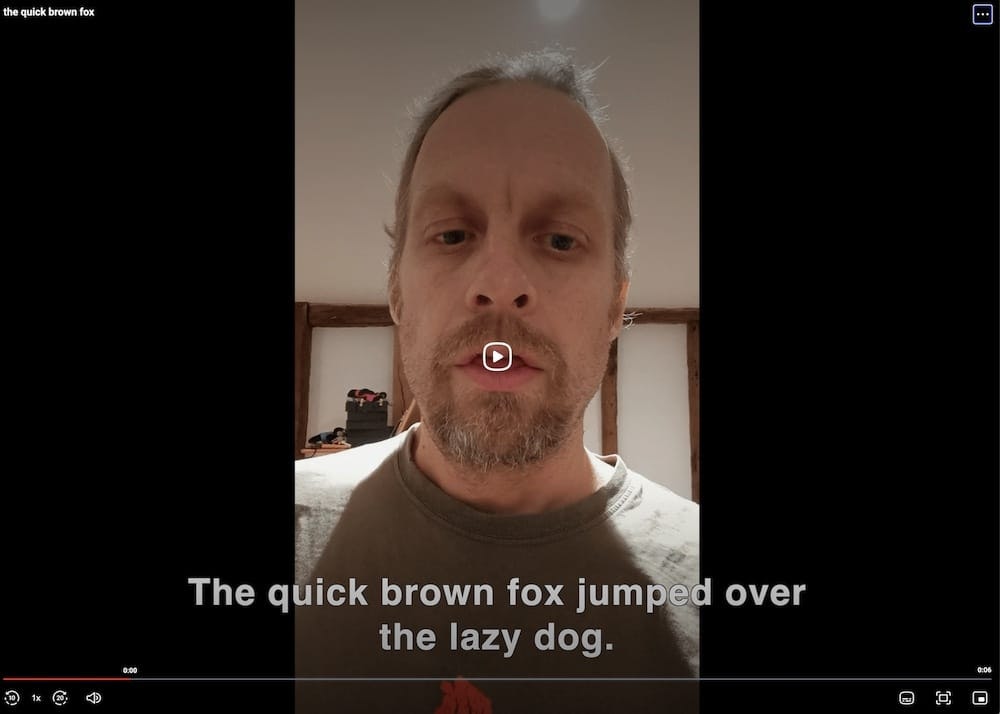
Captions increase your video's audience. Viewers spend more time watching captioned videos, many people watch videos with the sound off, and you can draw viewers who don't speak the spoken language of your video if you include subtitles. See "Why You Should Caption Your Videos, Whether They're Classes, Speeches, or Entertainment" if you want all the details and statistics for why you should consider captions for your video content. Another great reason to add captions, is it's easy to do with api.video and Maestra! Let's get started.
Prerequisites
- Maestra account (click the blue Get Started Free button)
- Sample video with spoken audio (we used one of Doug for this - https://www.youtube.com/watch?v=O3C7_kgwrPY, but any video is fine as long as it has clear audio)
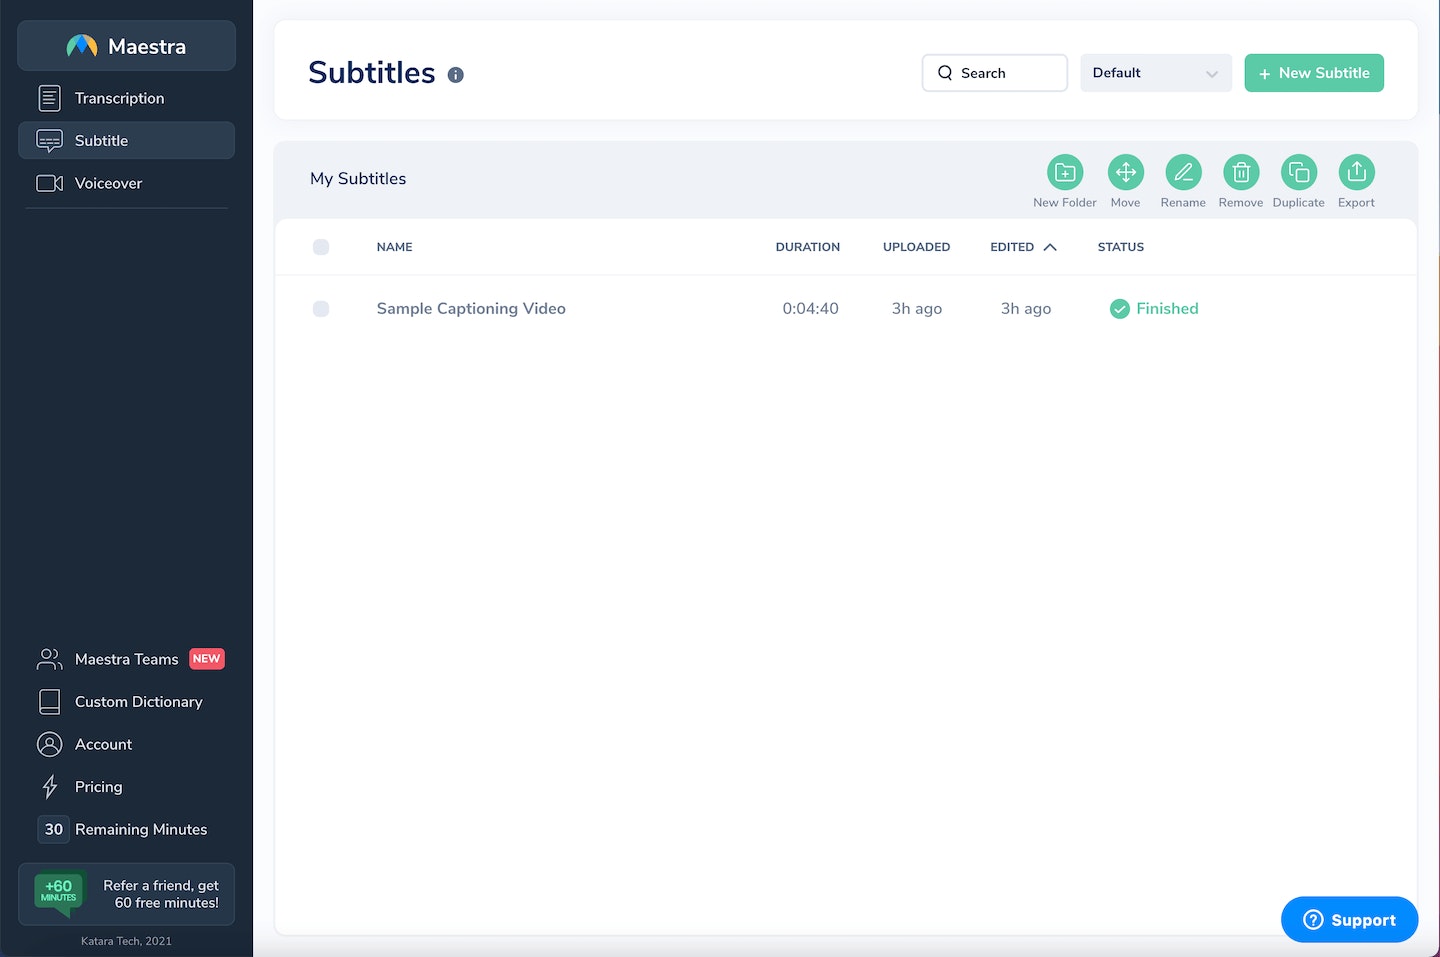
- Click New Subtitle to bring up the upload panel.
- On the upload panel under Upload your files, click My Device.
- For the Select audio language section, we choose English because the video is in English. The drop-down offers a 'Most Used Languages' section and an 'All Languages' section.
- You can choose different settings. For this walkthrough, we choose Translate captions to another language and then for the target language, choose Spanish. If you want different settings you can put those instead.
- Click Submit.
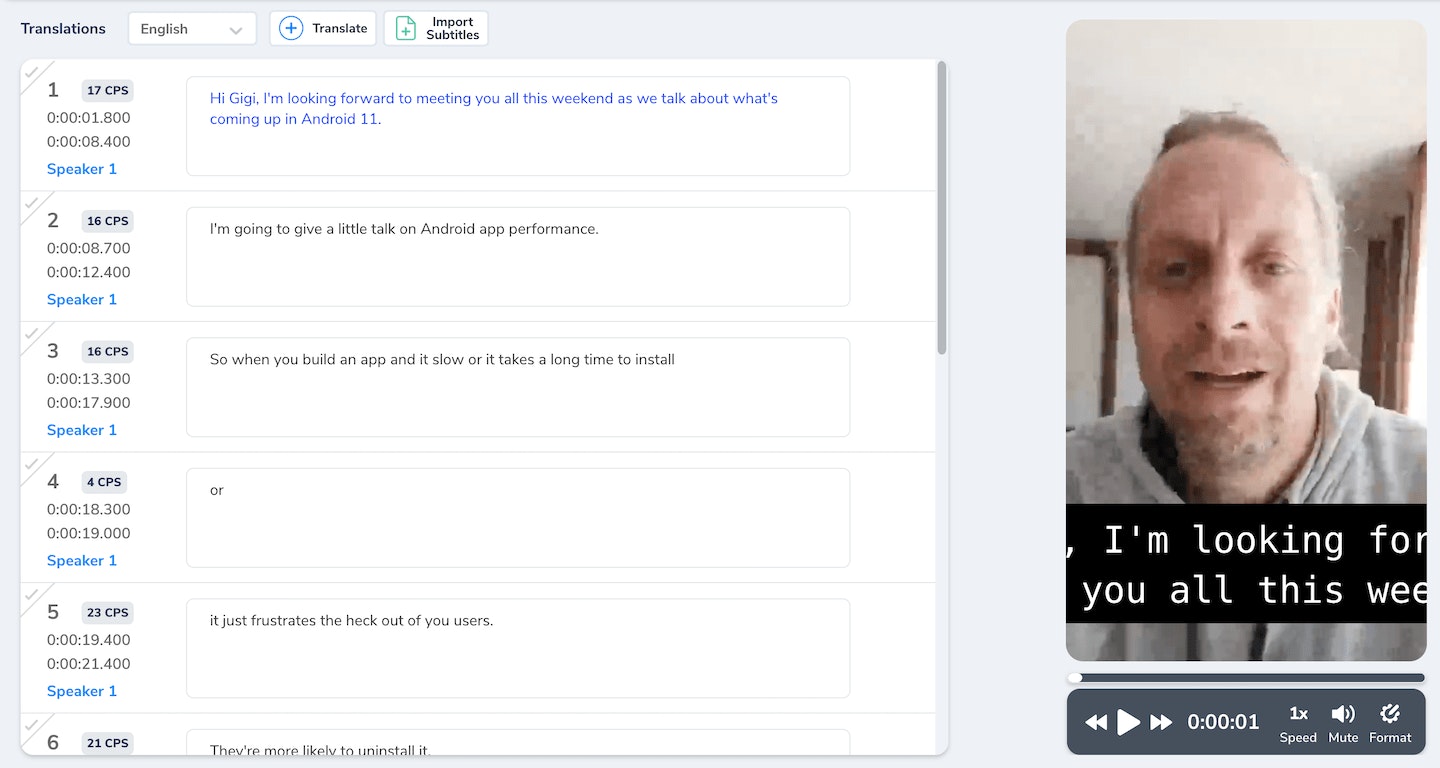
- Your video will start transcribing. Once it's complete, click on the title of your video. You can see how well your transcription came out. In this case, it came out pretty well.
- The next step is to export a copy of the file with the captions we want. Click the Export button in the upper right corner. You'll get a screen listing various choices, including downloading a video with all your captions included. We just want to get a WebVTT file for this walkthrough.
- Make sure you are on the Subtitle tab.
- Under Languages, check the English and the Spanish box.
- Click WebVTT to download your caption file. The first time you click it, it will say Ready. The second time, it downloads a .zip file with your information in it.
- When you open the .zip file, you'll see a caption file in English and one in Spanish. Save these.
Add the Video to api.video
We need to add our video to api.video before we can caption it. You have a few choices available to you:
- Delegated Uploads for Videos Large and Small - This tutorial shows you how to use a delegated token to upload a large or small file using Python.
- Upload a Video From Your Computer - Upload a video under 128 MB from your computer using Python.
- Upload a Video with the api.video API Using a Public URL - Transfer a video from a public URL to api.video
You can also use a no-code method:
- Open the api.video dashboard.
- Click My videos.
- Click Upload.
- Add your video.
Use the Captions Endpoint to Add Captions to Your Video
We can now take the files Maestra generated for us and add them to our video. Here's the code sample we're going to use to do it:
import requests
import glob, os
import re

# Get an access token using your API key
url = "https://ws.api.video/auth/api-key"

payload = {"apiKey": "api key here"}
headers = {
    "Accept": "application/json",
    "Content-Type": "application/json"
}

response = requests.request("POST", url, json=payload, headers=headers)
response = response.json()
token = response.get("access_token")

# Add Caption Files

headers = {
    "Accept": "application/json",
    "Authorization": token
}

videoId = "vi6FZib80ZrC8q73AekJqNDH"

for file in os.listdir("./"):
    if file.endswith(".vtt"):
       result = re.search('_(.*)\.', file)
       result = result.group()
       result = result.strip('_')
       result = result.strip('.')
       caption = {
            'file': (file, open(file, "rb"))
       }
       url = "https://ws.api.video/videos/" + videoId + "/captions/" + result
       response = requests.request("POST", url, files=caption, headers=headers)
       print(response.json())
The code sample hard codes the videoId - but if you want you can retrieve it programmatically. A design where a VTT file's title somehow matches the video's title and then you grab the videoId might be a good way to go.
In our demo, everything is set up to try to handle a situation where you have multiple caption files. We assume a naming convention like this:
title_language tag.vtt
So samples of this would be: doug_en-GB for English from Great Britain and doug_es-ES for Spanish from Spain.
The language tag in each case is a BCP 47 tag. The appropriate tag is at the end of each file so that it can be sliced from the file name and used in the caption upload. Using Python's regex and os modules we search for every file in the current directory that ends with '.vtt'. If it ends with this, we then retrieve the language tag from the end of the title, open the file in binary, then append the tag and file to a POST request to add a caption. We also modify the URL - it needs to include the videoId and the language tag for the language we want to add. You can see how that's built in the sample.
We have two caption files, so we loop through our .vtt files and send each one to be added. For each successful addition of a caption file, we get a response that looks similar to this:
{
	'uri': '/videos/vi6FZib80ZrC8q73AekJqNDH/captions/es',
	'src': 'https://cdn.api.video/vod/vi6FZib80ZrC8q73AekJqNDH/captions/es.vtt',
	'srclang': 'es',
	'default': False
}- uri - the unique link that you add to https://ws.api.video to reach the video caption file (you must authenticate to view this, so you can't paste it into a browser to see it)
- src - the location URL of the file
- srclang - what language you're using, written shorthand (instead of es-ES it would be es)
- default - whether this is the default language for the video
If you want to make a particular language the default caption, you can specify the language by updating a caption.
Check Your Work
You can retrieve details about your captions, but an easy way to check is to look in your dashboard:
- Go into your Videos section and click your video.
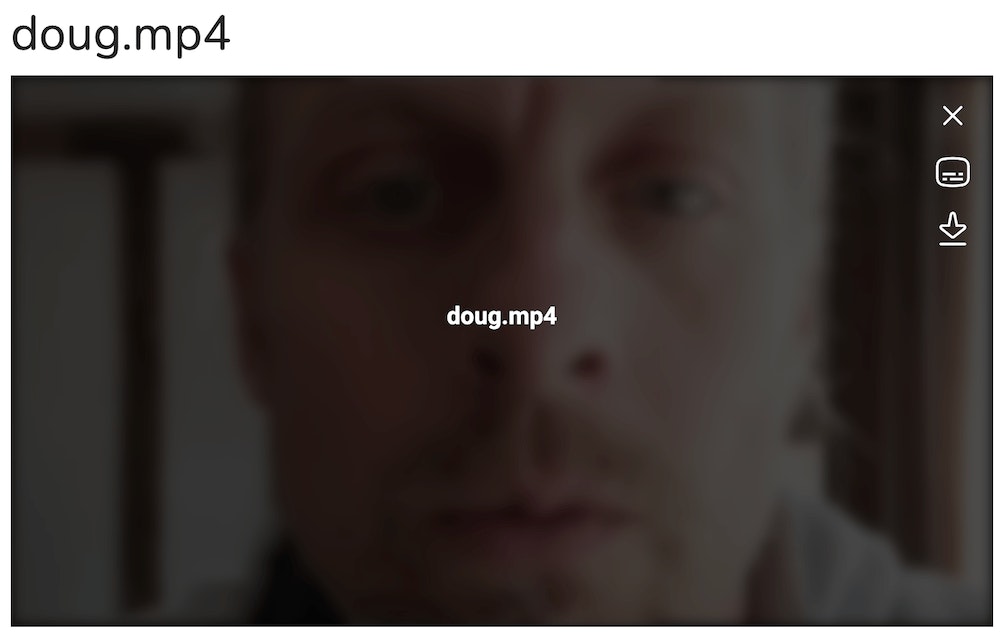
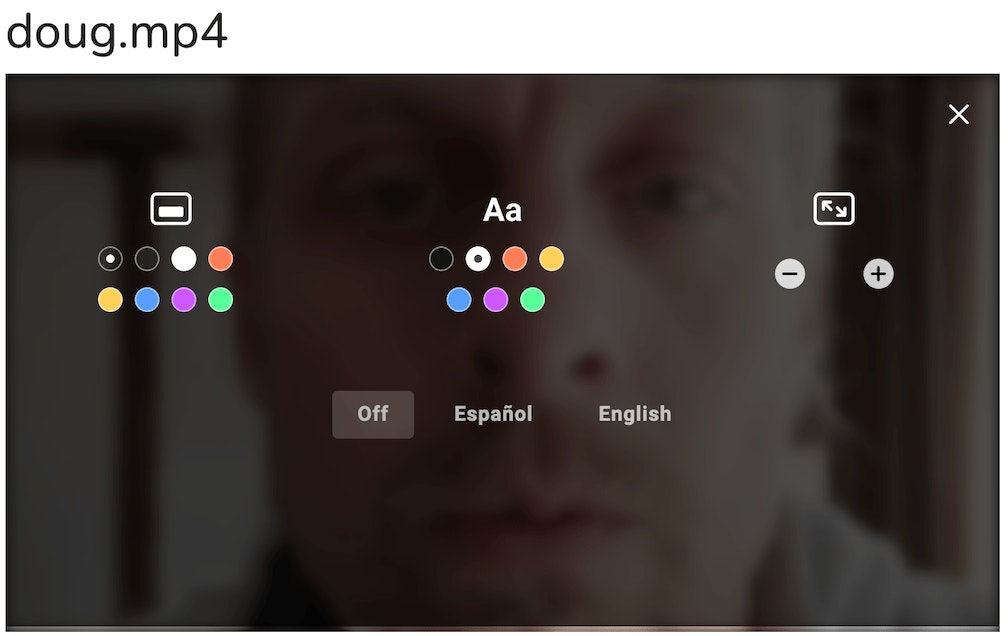
- Click the Captions icon directly under the X. You'll see that you can add English or Spanish captions. Give it a try on your own video!
Maestra does fairly well with captions, as long as the audio is clear. They offer a free trial for up to 30 minutes of video, so try them out yourself. Maestra lets you automatically create a variety of caption files, but api.video uses the WebVTT format, so you'll want that for any projects on our platform.
If you want to create your own WebVTT file from scratch, Doug wrote a great post about how to do this here: How to Add Captions to your Videos
Show a Caption
You can see if a caption was already added with this code:
import requests

url = "https://ws.api.video/auth/api-key"

payload = {"apiKey": "your api key here"}
headers = {
    "Accept": "application/json",
    "Content-Type": "application/json"
}

response = requests.request("POST", url, json=payload, headers=headers)
response = response.json()
token = response.get("access_token")

# Show a Caption if It's There

headers = {
    "Accept": "application/json",
    "Authorization": token
}

videoId = "your video ID here"
tag = "en"

url = "https://ws.api.video/videos/" + videoId + "/captions/" + tag

response = requests.request("GET", url, headers=headers)

print(response.text)
Show All Captions
If you want to see every caption for a video, you can do this:
import requests

url = "https://ws.api.video/auth/api-key"

payload = {"apiKey": "your api key here"}
headers = {
    "Accept": "application/json",
    "Content-Type": "application/json"
}

response = requests.request("POST", url, json=payload, headers=headers)
response = response.json()
token = response.get("access_token")

# Show All Captions if They're There

headers = {
    "Accept": "application/json",
    "Authorization": token
}

videoId = "your video ID here"
url = "https://ws.api.video/videos/" + videoId + "/captions"

response = requests.request("GET", url, headers=headers)

print(response.text)
Delete a Caption
A caption can be removed with the following code:
import requests

url = "https://ws.api.video/auth/api-key"

payload = {"apiKey": "your api key here"}
headers = {
    "Accept": "application/json",
    "Content-Type": "application/json"
}

response = requests.request("POST", url, json=payload, headers=headers)
response = response.json()
token = response.get("access_token")

# Delete a Caption if There Is One For This Language Tag

headers = {
    "Accept": "application/json",
    "Authorization": token
}

videoId = "your video ID here"
tag = "en"

url = "https://ws.api.video/videos/" + videoId + "/captions/" + tag

response = requests.request("DELETE", url, headers=headers)

print(response.text)
Update a Video Caption
You can update a video caption to make it the default. The code for that would be:
import requests

url = "https://ws.api.video/auth/api-key"

payload = {"apiKey": "your api key here"}
headers = {
    "Accept": "application/json",
    "Content-Type": "application/json"
}

response = requests.request("POST", url, json=payload, headers=headers)
response = response.json()
token = response.get("access_token")

# Delete a Caption if There Is One For This Language Tag

headers = {
    "Accept": "application/json",
    "Authorization": token
}

videoId = "your video ID here"
tag = "en"

url = "https://ws.api.video/videos/" + videoId + "/captions/" + tag

payload = {"default": True}

response = requests.request("PATCH", url, json= payload, headers=headers)

print(response.text)
This is all the basics for using captions. Thanks for tuning in today! Start builind now!
Erikka Innes
Developer Evangelist
Follow our latest news by subscribing to our newsletter
Create your free account
Start building with video now

