Live streaming is becoming more and more popular as a way to immediately share what a person is experiencing. Perhaps you've thought that live streaming might be a great feature in your mobile app that your customers would love, but you worried about the lifting involved to add this feature. Today, you can use our React Native module to quickly add live streaming to your app.
Building the sample app
In this post, I'll walk through installing and using the sample application to livestream right from your Android phone.
Getting started
Since I had not worked with React Native in the past, I had to get all my dependencies straightened out on my Mac. Make sure that you have
Ruby & cocoapods installed. (and set as defaults. I had a lot of issues with multiple versions that were not speaking to each other correctly)
Android Studio (with SDK version 29) installed.
clone the repository from github: https://github.com/apivideo/react-native-livestream
Next, we'll build the application. Enter the repository directory from the terminal, and build the app with yarn:
cd react-native-livestream
yarn
If you run into an error here, you probably have a dependency issue. I spent some time in this area getting my development environment up and running properly.
Now we are ready to build the android app, and install it on your phone. In my case, I chose to use a phone, so I made sure to enable the developer options and USB debugging, and connected to my laptop. You know this is working as expected when you get a response from the adb devices command on the terminal:
 % adb devices
* daemon not running; starting now at tcp:5037
* daemon started successfully
List of devices attached
SOVOT8LR65EUCM7H	device
Installing the app
Enter the example directory and run yarn android
cd example
yarn android
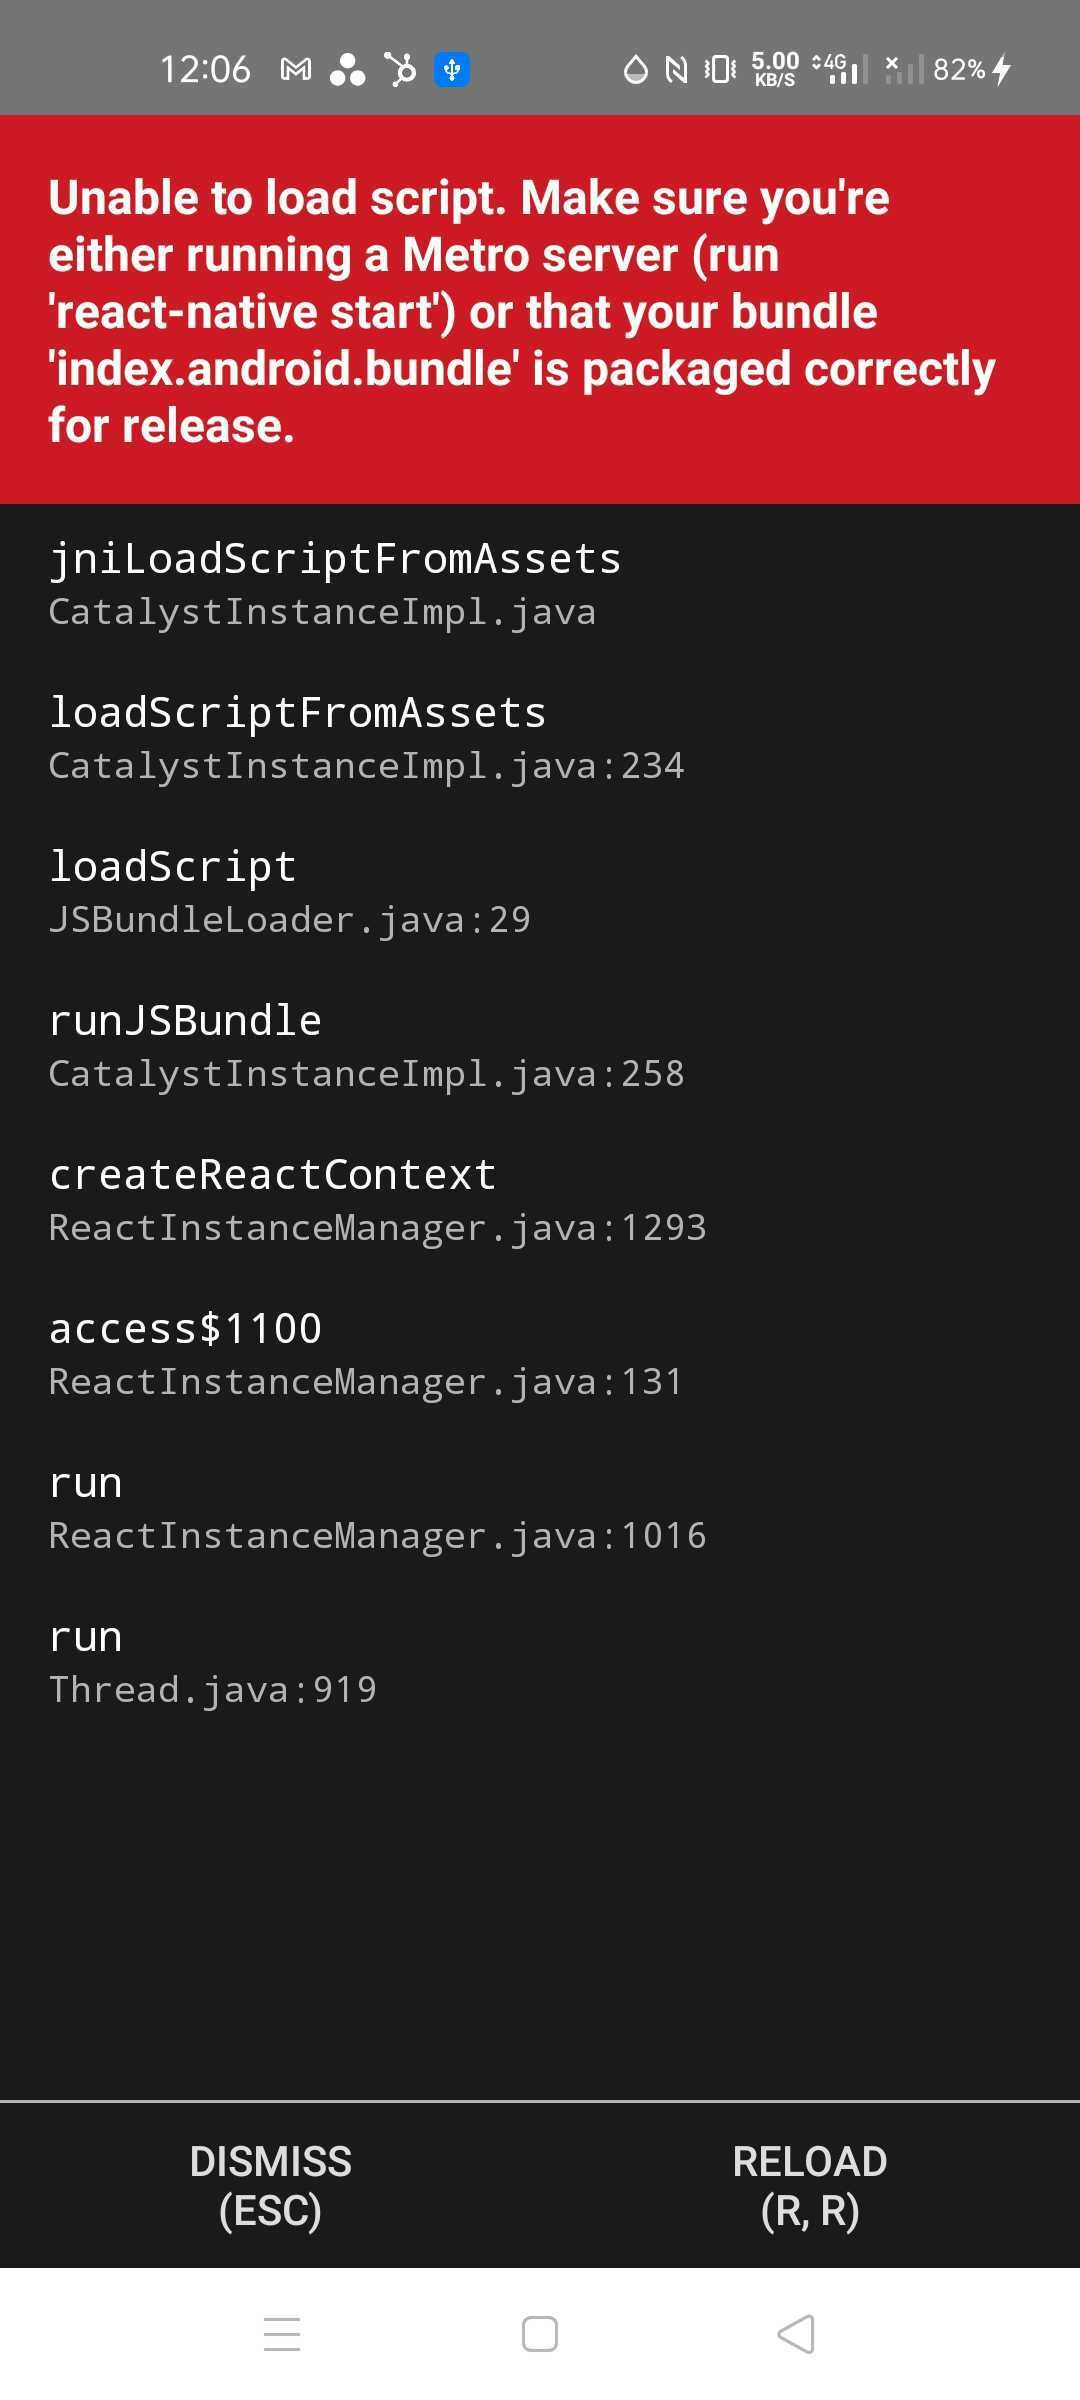
The app will build and install on your phone, but you'll see a red error message about the Metro server not running:
This is fixed by starting the server on your desktop:
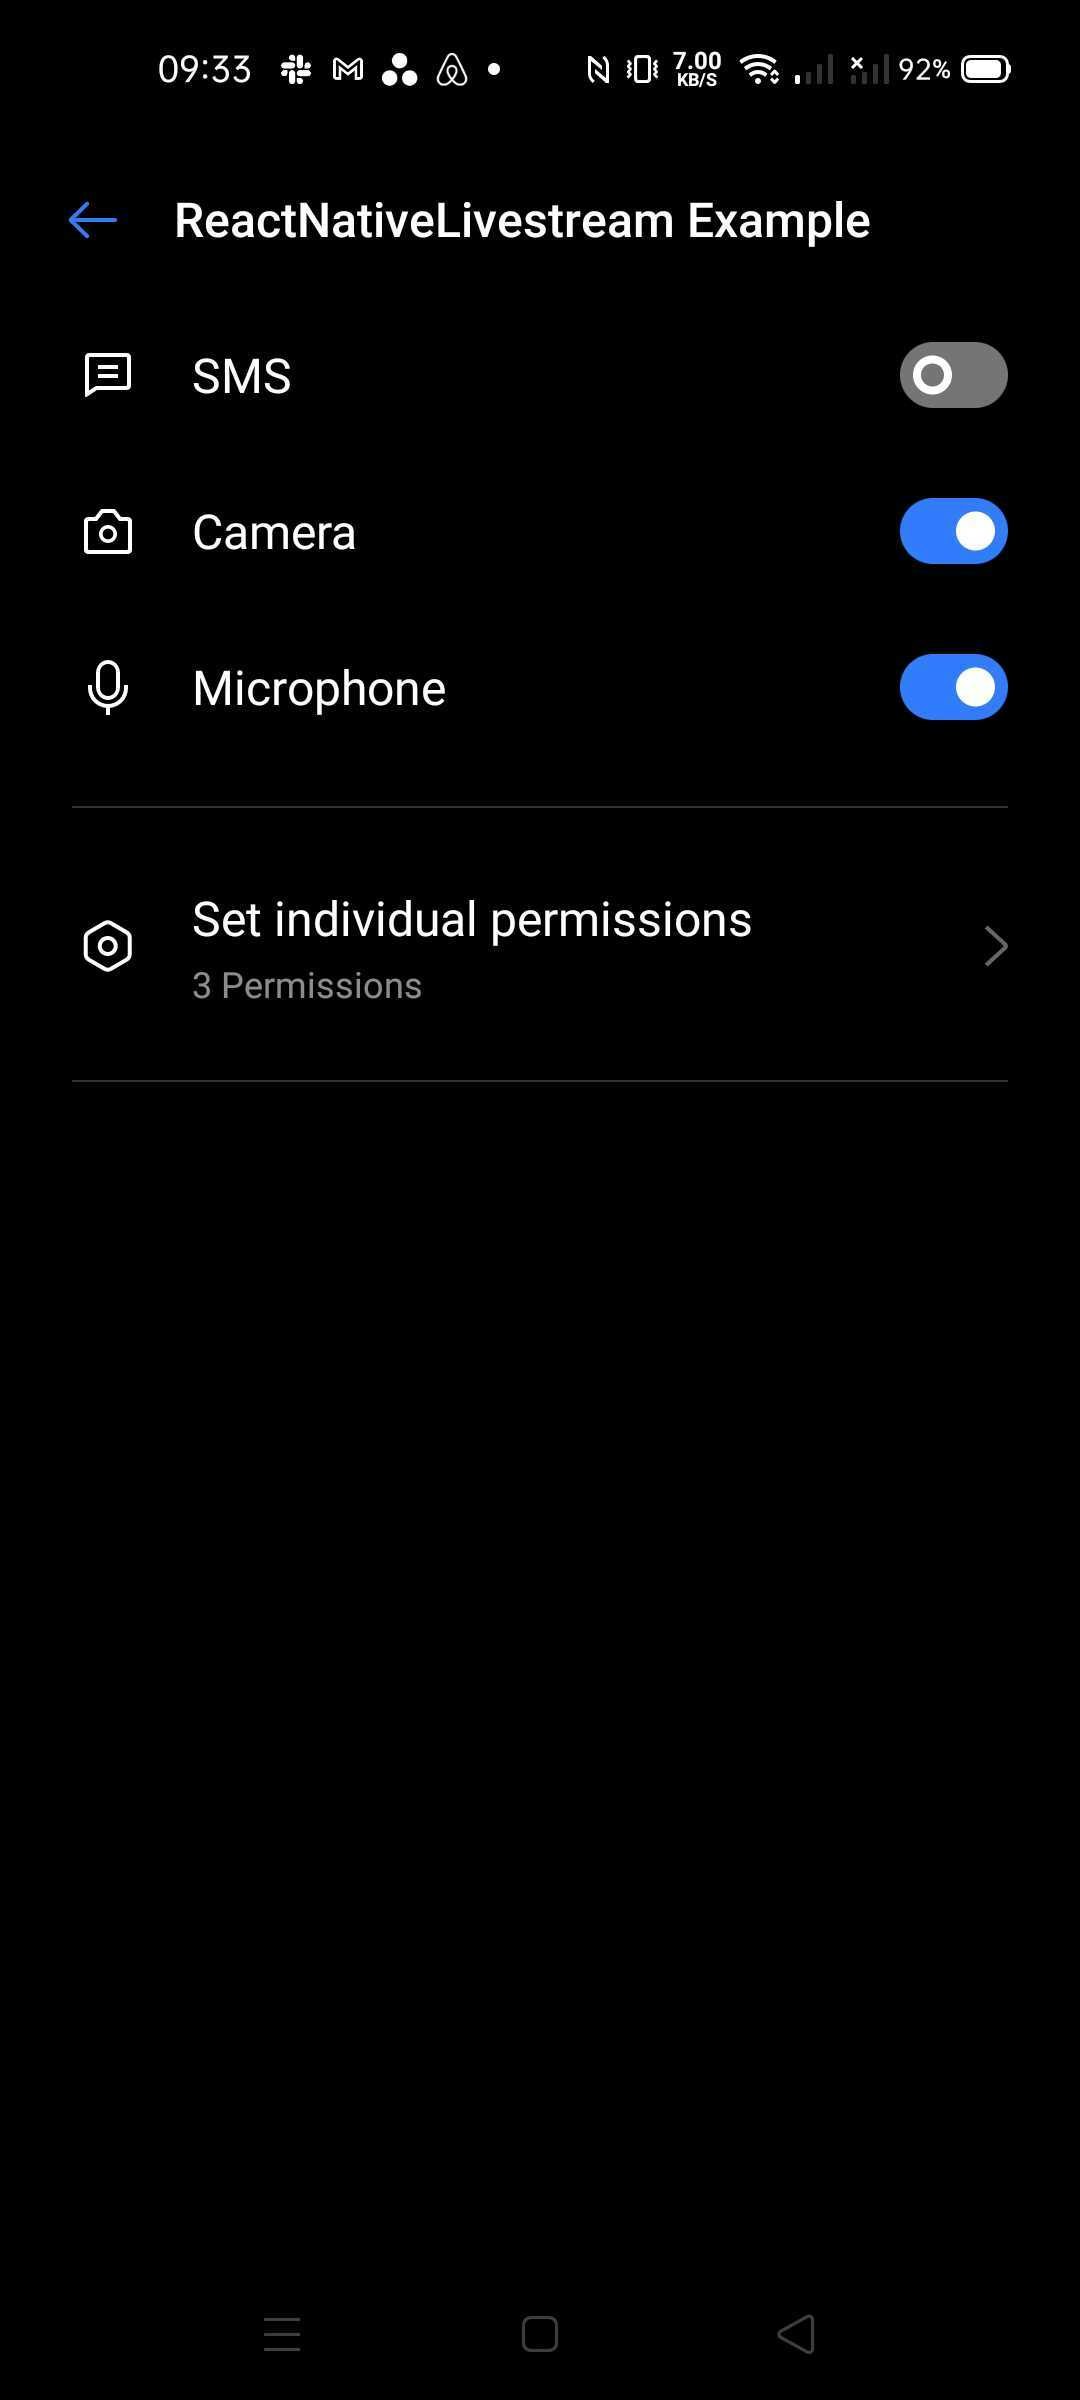
npm startOnce the server starts, press 'r' to reload the application. The screen will be blank after the reload, as there are no app permissions enabled. You'll have to go into Settings-> apps (find the ReactNativeLivestream Example app) and enable Camera and Microphone settings.
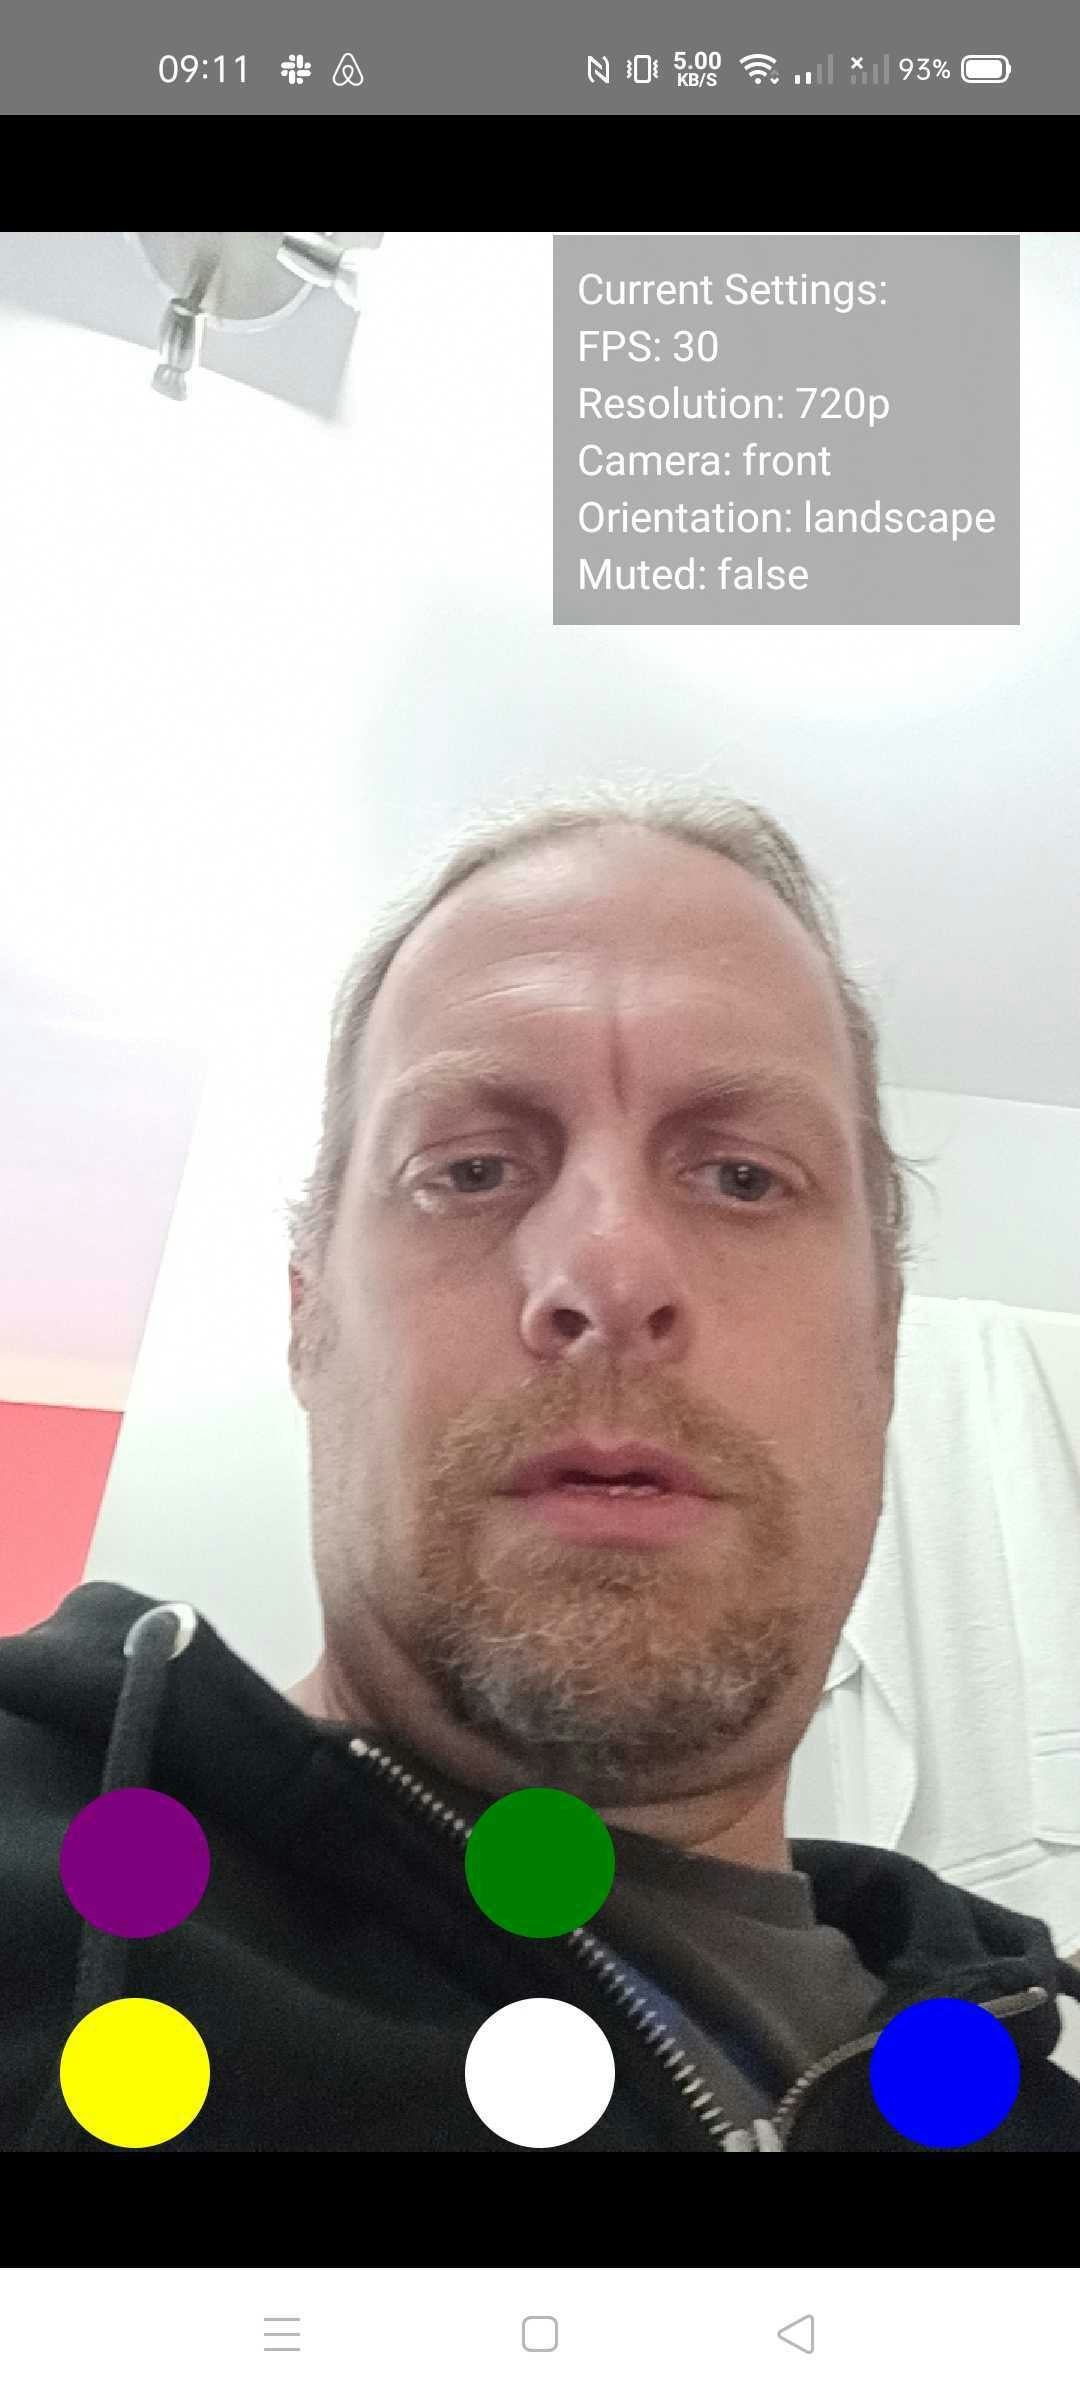
When you relaunch the application, now we are in business:
Now we are ready to stream. The 5 coloured buttons change the settings of the application:
Purple: Changes orientation from landscape to portrait Green: Camera selection from front to back Yellow: Streaming resolution: 360p or 720p Blue: Audio: true/false
White: Starts the stream. When you start the stream, you begin broadcasting the video (and the button turns red). When you're done streaming, press the red button to stop (and it will turn white).
This streams into a test account and the player URL is not published. To see the livestream in action, go to App.tsx file on line 68, and use a streamKey from your api.video account. Repeat the steps above, and the application will livestream into your account, and viewers can watch the video at the player URL for your live stream.
Follow our latest news by subscribing to our newsletter
Create your free account
Start building with video now


