Rebuilding YouTube with api.video and Next.js
March 17, 2022 - Mathieu Thiry in Video list, JavaScript, NodeJS, Next.js
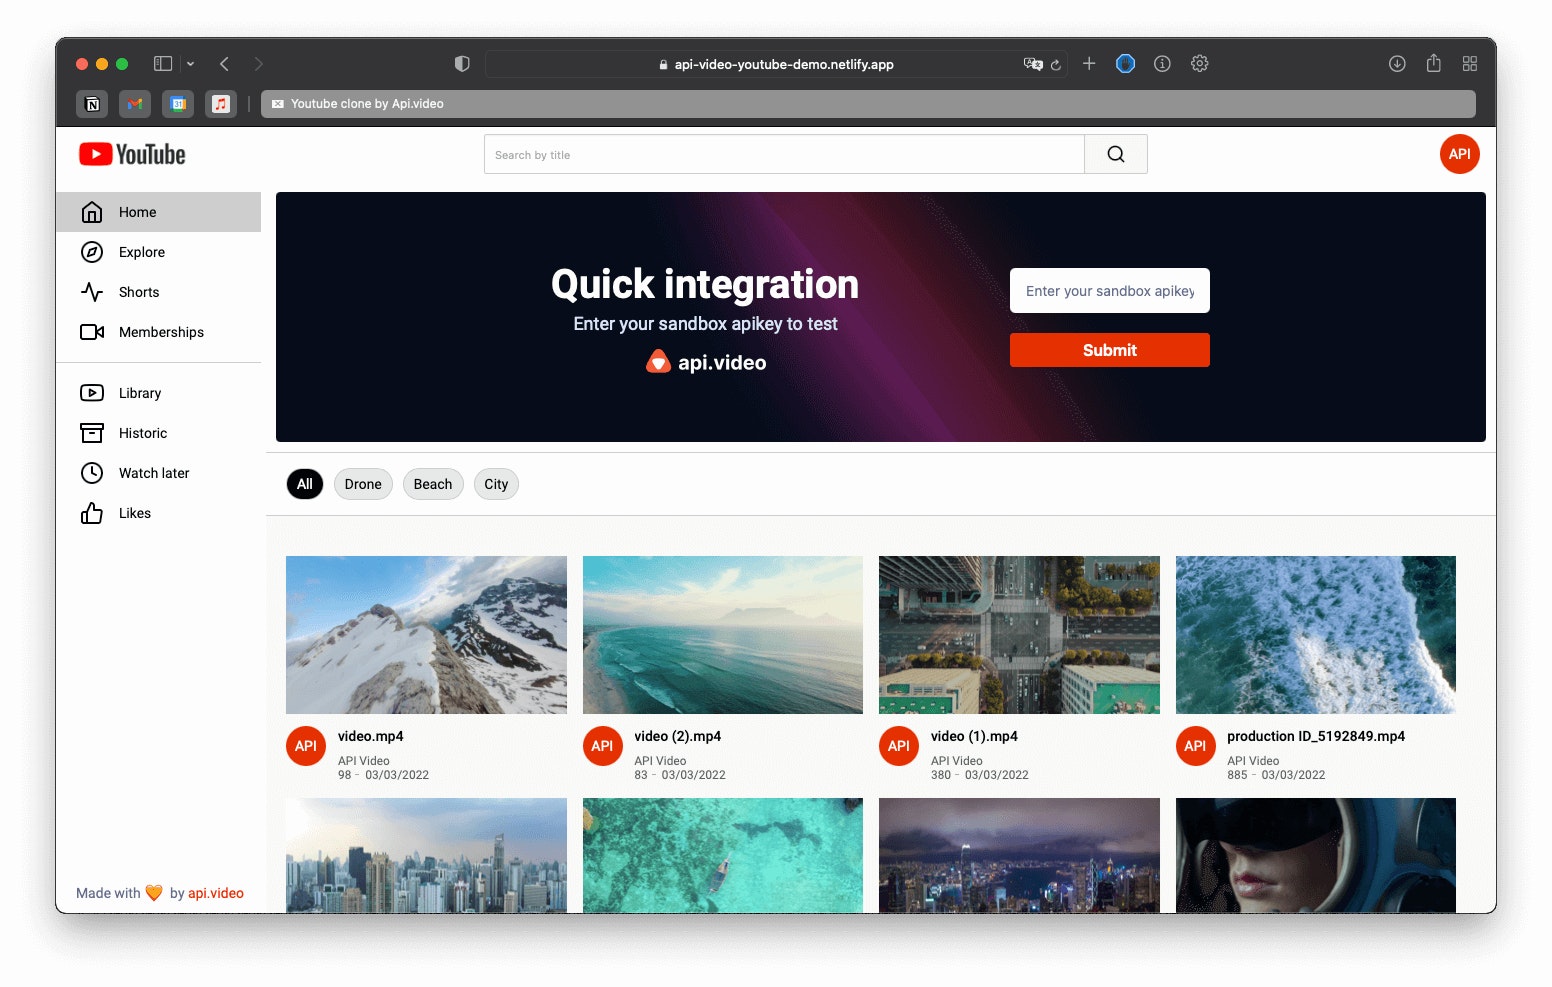
This tutorial will show how quick and straightforward it is to build a youtube clone with api.video and Next.js. By encapsulating the front-end and backend inside our Next app, we can rapidly develop and deploy as we need a backend to run @api.video/nodejs-client.
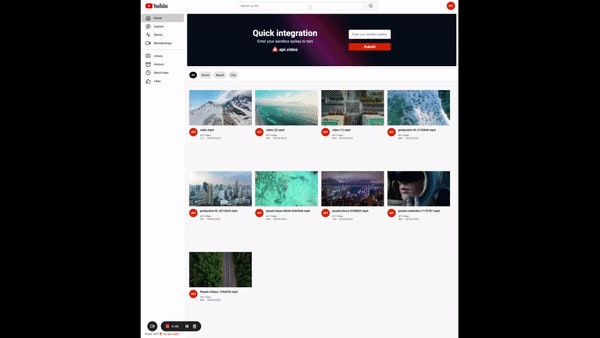
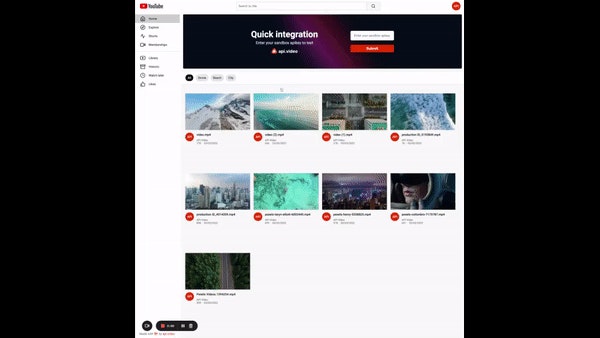
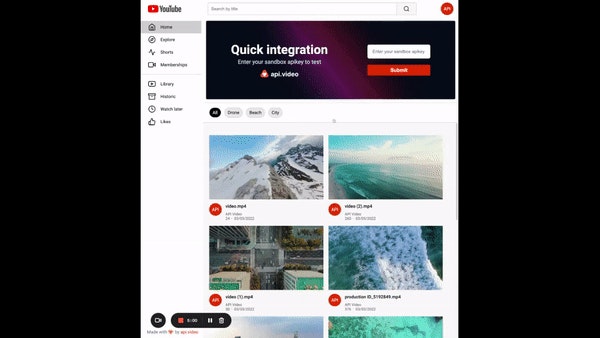
YouTube’s core functionality is the video library, so today, we will focus on this crucial feature: listing videos. You will have all the steps to build a public catalog of videos for your product. The demo is available here and the code here. Let's start 🎬
1. Application setup
Let's quickly start to build a new Next.js application using Create Next App
Run these commands in the terminal:
npx create-next-app@latest api.video_youtube_clone
cd youtube_clone
Note: We'll use styled-components and react-feather for icons to style our example application, but you can ignore these steps if you have another preference.
Once inside our project, install these three packages:
npm install @api.video/nodejs-client styled-components react-feather2. Configuration
Configuration styled-components
Since 12.1, Next.js added support to the Next.js Compiler for styled-components, update your next.config.js file:
// next.config.js
module.exports = {
	compiler: {
		styledComponents: true,
},
Create a custom _document.js file
To render our styled-components at the server-side, we need to override _document.js. For this, create a _document.js file under the pages folder and add the following content into it. We will use also use the google font Roboto.
// _document.js

import Document, { Html, Head, Main, NextScript } from "next/document";
import { ServerStyleSheet } from "styled-components";

class MyDocument extends Document {
  static async getInitialProps(ctx) {
    const sheet = new ServerStyleSheet();
    const originalRenderPage = ctx.renderPage;

    try {
      ctx.renderPage = () =>
        originalRenderPage({
          enhanceApp: (App) => (props) =>
            sheet.collectStyles(<App {...props} />),
        });

      const initialProps = await Document.getInitialProps(ctx);
      return {
        ...initialProps,
        styles: (
          <>
            {initialProps.styles}
            {sheet.getStyleElement()}
          </>
        ),
      };
    } finally {
      sheet.seal();
    }
  }
  render() {
    return (
      <Html>
        <Head>
          <link
            href="https://fonts.googleapis.com/css2?family=Roboto:ital,wght@0,300;0,400;0,500;0,700;1,400&display=swap"
            rel="stylesheet"
          />
        </Head>
        <body>
          <Main />
          <NextScript />
        </body>
      </Html>
    );
  }
}

export default MyDocument;
3. How to fetch data
Create API routes with api.video/nodejs-client
You can declare the API under the pages/apidirectory. When you declare a file or folder insidepages/api, it will generate an URL endpoint that matches /api/<folder>/<file>. It's all server-side. We set our API key in an environment variable in the .env.development file for security.
Now create a pages/api/content.jsfile. Inside this file, add the following code:
import ApiVideoClient from "@api.video/nodejs-client";

const handler = async (req, res) => {
  // Get the list of contents
  const { title } = req.body;
	const apiKey = process.env.API_KEY;

  const client = new ApiVideoClient({
    apiKey,
  });

  let result = await client.videos.list({ title });
  res.status(200).json({ ...result });
  return;
};
export default handler;
We can get videos in just a few lines of code by applying the method list.
@api.video/nodejs-client allows us to filter by title, tags, metadata, description, pageSize, full documentation is here. Let's focus on title for now.
Call API routes in the front-end.
Go to pages/index.js and call the endpoint we just created on mounting. Save the result in the state videos.
// pages/index.js
import React, { useState, useEffect } from "react";

const Home = () => {
const [videos, setVideos] = useState([]);

useEffect(() => {
    getVideos();
  }, []);

const getVideos = async () => {
    const response = await fetch("api/content", {
      method: "Post",
      headers: { "Content-Type": "application/json" },
    });

    const { data } = await response.json();
    setVideos(data);
  };
return ()
}
Search on the navbar
@api.video/nodejs-client allows us to filter videos by name. We’re going to implement a simple field where we can enter a searchable value.
// pages/index.js
import React, { useState, useEffect } from "react";

export default function Home() {
const [videos, setVideos] = useState([]);
const [query, setQuery] = useState("");

useEffect(() => {
    getVideos();
  }, [query]);

const getVideos = async () => {
    const response = await fetch("api/content", {
      method: "Post",
      headers: { "Content-Type": "application/json" },
      body: JSON.stringify({ title: query}),
    });

    const { data } = await response.json();
    setVideos(data);
  };

const handleQuery = (event) => {
    const { value } = event.target;
    setQuery(value);
  }

return (
			<>
					<input
          placeholder="Search by title"
          value={query}
          onChange={handleQuery}
        />
			</>
	)
}
4. How to display a list of videos
How to filter videos with tags
api.video provides many features. One of them allows you to a tag to a single video. This demo excellently showcases how to use it.
1 ) Add a tag to the dashboard.
The easiest way to add a tag is to go to api.video dashboard, go to videos sections, click on a video, “see details” of a video and add a tag. The video here explains how to do it.
The next step is to apply the filterTags function to the videos, which:
- Retrieves all of the tags
- Sorts by “the most used”
- Returns a clean tag array that we will store in a state
2 ) Store tags in a state
// src/utils/functions/index.js

export const filterTags = (videos) => {
	// Retrieve tags
  const tags = videos.flatMap((video) => video?.tags);
  const lowerVideos = tags.map((el) => el.toLowerCase()).sort();
	// Create an object whose keys are corresponding to the name of the tags
	// and the value, the number of it is tagged
  const result = lowerVideos.reduce(
    (acc, curr) => ((acc[curr] = (acc[curr] || 0) + 1), acc),
    {}
  );
	// Retrieve the keys and sort them by the most used
  const keysSorted = Object.keys(result).sort(function (a, b) {
    return result[b] - result[a];
  });
	// return an array
  return keysSorted;
};
We call this util function each time we get videos. We store the array of values in a state. We also create another state, “active state, “ the current state. By default, it is “All”.
import React, {useState} from "react";

export default function Home() {
const [tags, setTags] = useState([]);
const [activeTag, setActiveTag] = useState("All");

const getVideos = async () => {
		...
		const { data } = await response.json();
    setTags(filterTags(data));
  };

const handleActiveTag = (tag) => {
    setActiveTag(tag);
  };

return (
<>
    <Tags
	    tags={tags}
      activeTag={activeTag}
      handleActiveTag={handleActiveTag}
    />
</>
	)
}
3 ) Display Tags component
The tag's value is in the Chip component. By default, the Chip “All” is displayed, and next, each tag is stored in the tag array. If you click on the chip, you update the value of the tag state. The props isActive shows a different style based on whether true or false.
// src/components/tags/index.jsx

import React from "react";
import { Wrapper, Chip } from "./styles";

function Tags({ tags, activeTag, handleActiveTag }) {
  return (
    <Wrapper>
      <Chip
        isActive={activeTag === "All"}
        onClick={() => handleActiveTag("All")}
      >
        All
      </Chip>
      {tags.map((tag) => {
        return (
          <Chip
            key={tag}
            isActive={activeTag === tag}
            onClick={() => handleActiveTag(tag)}
          >
            {tag}
          </Chip>
        );
      })}
    </Wrapper>
  );
}

export default Tags;
4 ) Filter videos by the activeTag
Then let's apply to the videos array the filterElement function, which only displays videos whose tags are equal to the activeTag. This function applies only if the activeTag is different from All.
// pages/index.js
import React, {useState} from "react";

export default function Home() {
const [videos, setVideos] = useState([]);
const [activeTag, setActiveTag] = useState("All");

const filterElement = (videos) => {
    if (activeTag === "All") {
      return videos;
    } else {
      return videos.filter((video) =>
        video?.tags.map((el) => el.toLowerCase()).includes(activeTag)
      );
    }
  };
return (
<>
    {filterElement(videos).map((video) => {
          const { videoId } = video;
          return (
            <Video video={video} key={videoId} />
          );
        })}
</>
	)
}
5. How to use the player from api.video
api.video provides a performant and fully customizable player. As soon as you upload a video, it automatically creates a link to the api.video's player. You can, of course, customize your player directly in the dashboard. Then, let's encapsulate the player in an iframe. The props video corresponds to a video object.
// pages/index.js
import React, { useState, useEffect } from "react";

export default function Home() {
const [videos, setVideos] = useState([]);

return (
			<>
					{videos.map(video => {
					<VideoPreview video={video} key={video.videoId} />
				}
			</>
	)
}

// src/components/singleVideoPage/videoPreview/index.jsx
import React from "react";

function VideoPreview({ video }) {

const player = video?.assets?.player
// example => "https://embed.api.video/vod/vi4zQesNly8hklXEbGTTCXsv"
return (
<>
    <iframe
        width="100%"
        height="600px"
        src={player}
        allowFullScreen
        style={{ border: 0 }}
      ></iframe>
</>
	)
}
export default VideoPreview;
Conclusion
We recreated YouTube thanks to api.video’s features in just a few steps. We did not cover all the topics such as dynamic routing usage of react context to store the API key, but the entire code is available here.
And we're done! To start building right now, check our docs and sign up for a free account.
BONUS
In this part, I will explain how easily you can display the video on hover
Display the video on hover
Create a file to regroup our CSS logic in style.js. The trick is to display the video on hover instead of the image. A way to achieve it is to add the property display: none to the image and display: block to the video.
// src/components/homePage/videos/styles.js
import styled from "styled-components";

export const CustomVideos = styled.video`
  aspect-ratio: 16 / 9;
  width: 100%;
  max-width: 600px;
  display: none;
`;

export const Thumbnail = styled.img`
  aspect-ratio: 16 / 9;
  width: 100%;
  max-width: 600px;
  object-fit: cover;
  position: relative;
  cursor: pointer;
  display: block;
`;
export const Wrapper = styled.div`
  display: flex;
  flex-direction: column;
  cursor: pointer;
  transition: transform 0.5s ease;

  &:hover {
    transform: scale(1.02);
  }

  &:hover ${Thumbnail} {
    display: none;
  }

  &:hover ${CustomVideos} {
    display: block;
    background-color: black;
  }
`;
As shown below, we pass each video object as props to the Video component.
We don't need to format the answer in the child component Video. We can destructure the video object and access the image and video.
// pages/index.js
import React, {useState} from "react";
import Video from "../src/components/homePage/videos/videos.jsx"

export default function Home() {
const [videos, setVideos] = useState([]);
return (
<>
    {videos.map((video) => {
          const { videoId } = video;
          return (
            <Video video={video} key={videoId} />
          );
        })}
</>
	)
}

// src/components/homePage/videos/videos.jsx
import React from "react";
import { Wrapper, Thumbnail, CustomVideos } from "./styles";

function Video({ video }) {
const { assets, title } = video;

return (
<Wrapper>
     <Thumbnail src={assets?.thumbnail} alt={"thumbnail"}></Thumbnail>

      <CustomVideos
        autoPlay
        muted
        loop
        >
          <source src={assets?.mp4} type="video/mp4" />
       </CustomVideos>
</Wrapper>
	)
}Follow our latest news by subscribing to our newsletter
Create your free account
Start building with video now

