How to create a Udemy-like learning platform
April 26, 2022 - Aya Bochman in Video list, Video Status, JavaScript, NodeJS, Next.js, Typescript
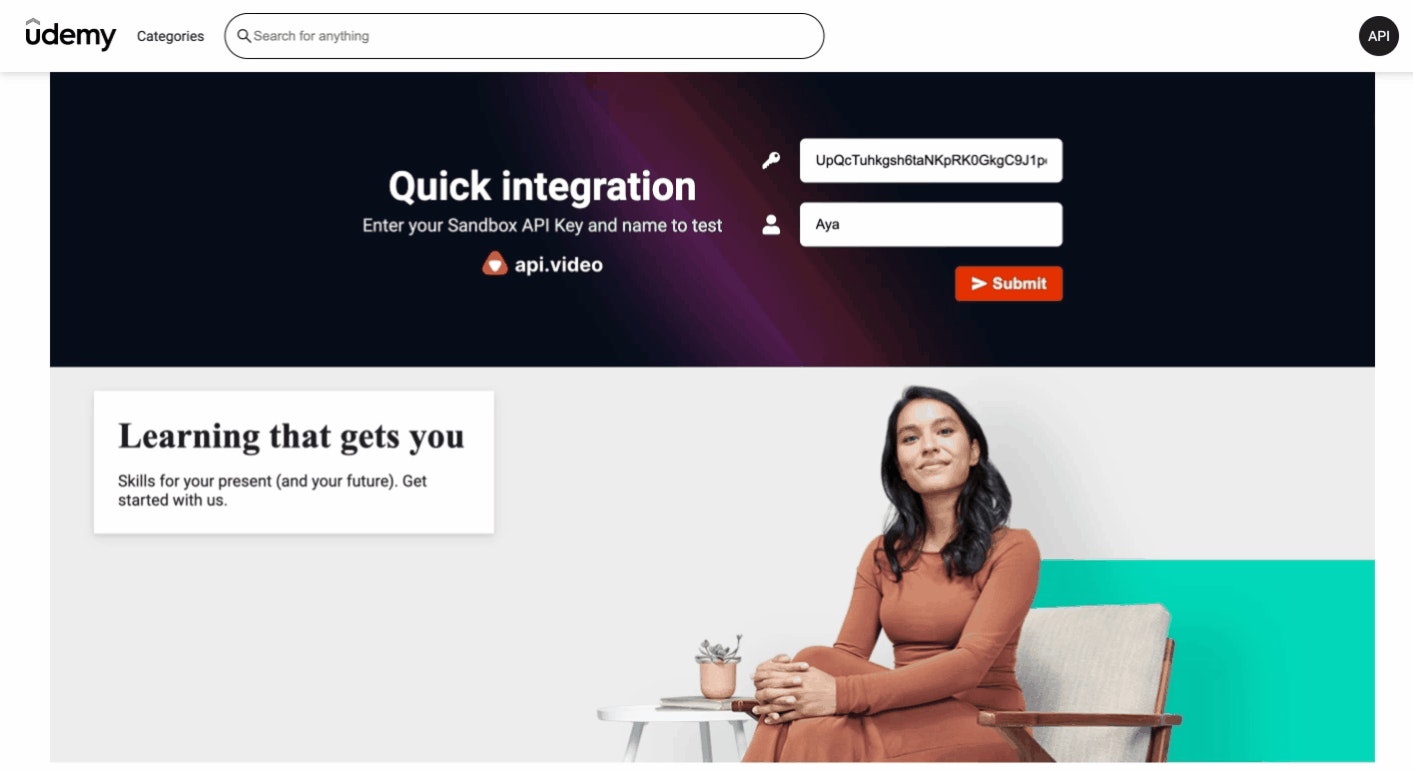
In this tutorial we will create a Udemy-like learning platform with api.video using Next.js, React, and Typescript. Udemy is an open online learning and teaching marketplace where you can have access to a variety of courses.
We’ll focus on how to easily add Udemy’s notes feature to your video with the help of api.video’s player SDK, which allows us to control and interact with our player. We’ll also see how to show a progress bar on the videos preview and resume a video where it was last paused.
You can see the demo here and the complete code here.
1. Quick Setup
Let's start to build a new Next.js application using Create Next App and --ts for Typescript
Run these commands in the terminal:
npx create-next-app@latest api.video_udemy_clone --ts
cd api.video_udemy_clone
Once inside our project, install api.video’s Node.js client and player SDK with some style and icon packages:
npm i --save @api.video/nodejs-client @api.video/player-sdk
styled-components react-icons
Note: We'll use styled-components and react-icons to style our example application, but you can use any styling libraries you want.
2. Video list preview
First, on our main page, we will display a list of our videos. You can follow the 3rd step, “How to fetch data,” in our Youtube clone tutorial to achieve that.
After you fetch the videos data in pages/index.tsx, add a component that you’ll pass the videos result to.
Video preview
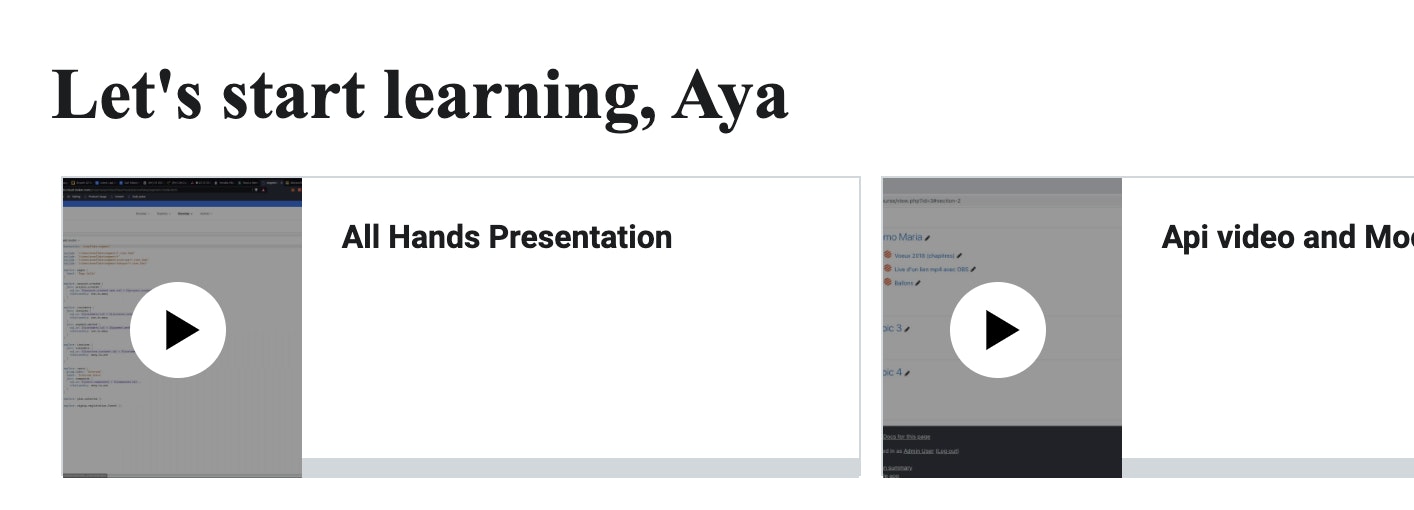
Once we have our array of videos in a designated component, we want to create a simple video preview with a title and thumbnail.
We’ll map the list, and in each video object, we can access the thumbnail CDN with assets.thumbnail and show the title. Pass it to your desired preview component, style it, and you can get a result like this:
Each video component is a link to the video’s page, so on each item, I’m passing a videoId in the href
3. Video page view
Setting up the player SDK
I’ve created a components/Video/index.tsx component which will display the video on my pages/video/[videoId] page. Then let’s set up the player SDK in 2 simple steps:
Step 1 - Get video details
Create an API route in pages/api/video.ts for getting video details by Id with our Node.js client.
// api/pages/video.ts
import ApiVideoClient from '@api.video/nodejs-client';

const handler = async (req, res) => {
  const defaultApiKey = process.env.API_KEY;

  const { apiKey } = req.body;

  const client = new ApiVideoClient({
    apiKey: defaultApiKey,
  });

  const result = await client.videos.get(videoId);
  res.status(200).json({ ...result });
  return;
};
export default handler;
Now in the front end, get the videoId from the query, send it to the API, and you will get a video object.
Step 2 - Create player SDK
Now the fun part begins 😄 after we get the videoId, we can create our api.video player SDK. The SDK will help us to get a bunch of information from our video, and to control and customize the player as we want.
After these 2 steps, our code should look like this:
// components/Video/index.tsx
import { PlayerSdk } from '@api.video/player-sdk';

const getVideoDetails = async () => {
    // 1. Get video details by videoId
    const response = await fetch(`/api/video`, {
      method: 'Post',
      headers: { 'Content-Type': 'application/json' },
      body: JSON.stringify({ videoId }),
    });
    const videoData = await response.json();
    setVideo(videoData);

    // 2. Create and set our player SDK
    const player = new PlayerSdk(document.getElementById('myVideo'), {
      id: videoData.videoId,
      hideTitle: true,
      hidePoster: true
    });
    setPlayerSdk(player);
  };
Go to the player SDK documentation to read more about the params id, hideTitle, hidePoster
You’ll notice that we’re getting an element by id called myVideo. We need it to connect the SDK to the actual HTML5 player. So let’s create that iframe element in our render:
	<iframe
                width="100%"
                id={'myVideo'}
                height="600px"
                allowFullScreen
                style={{ border: 0 }}
              />
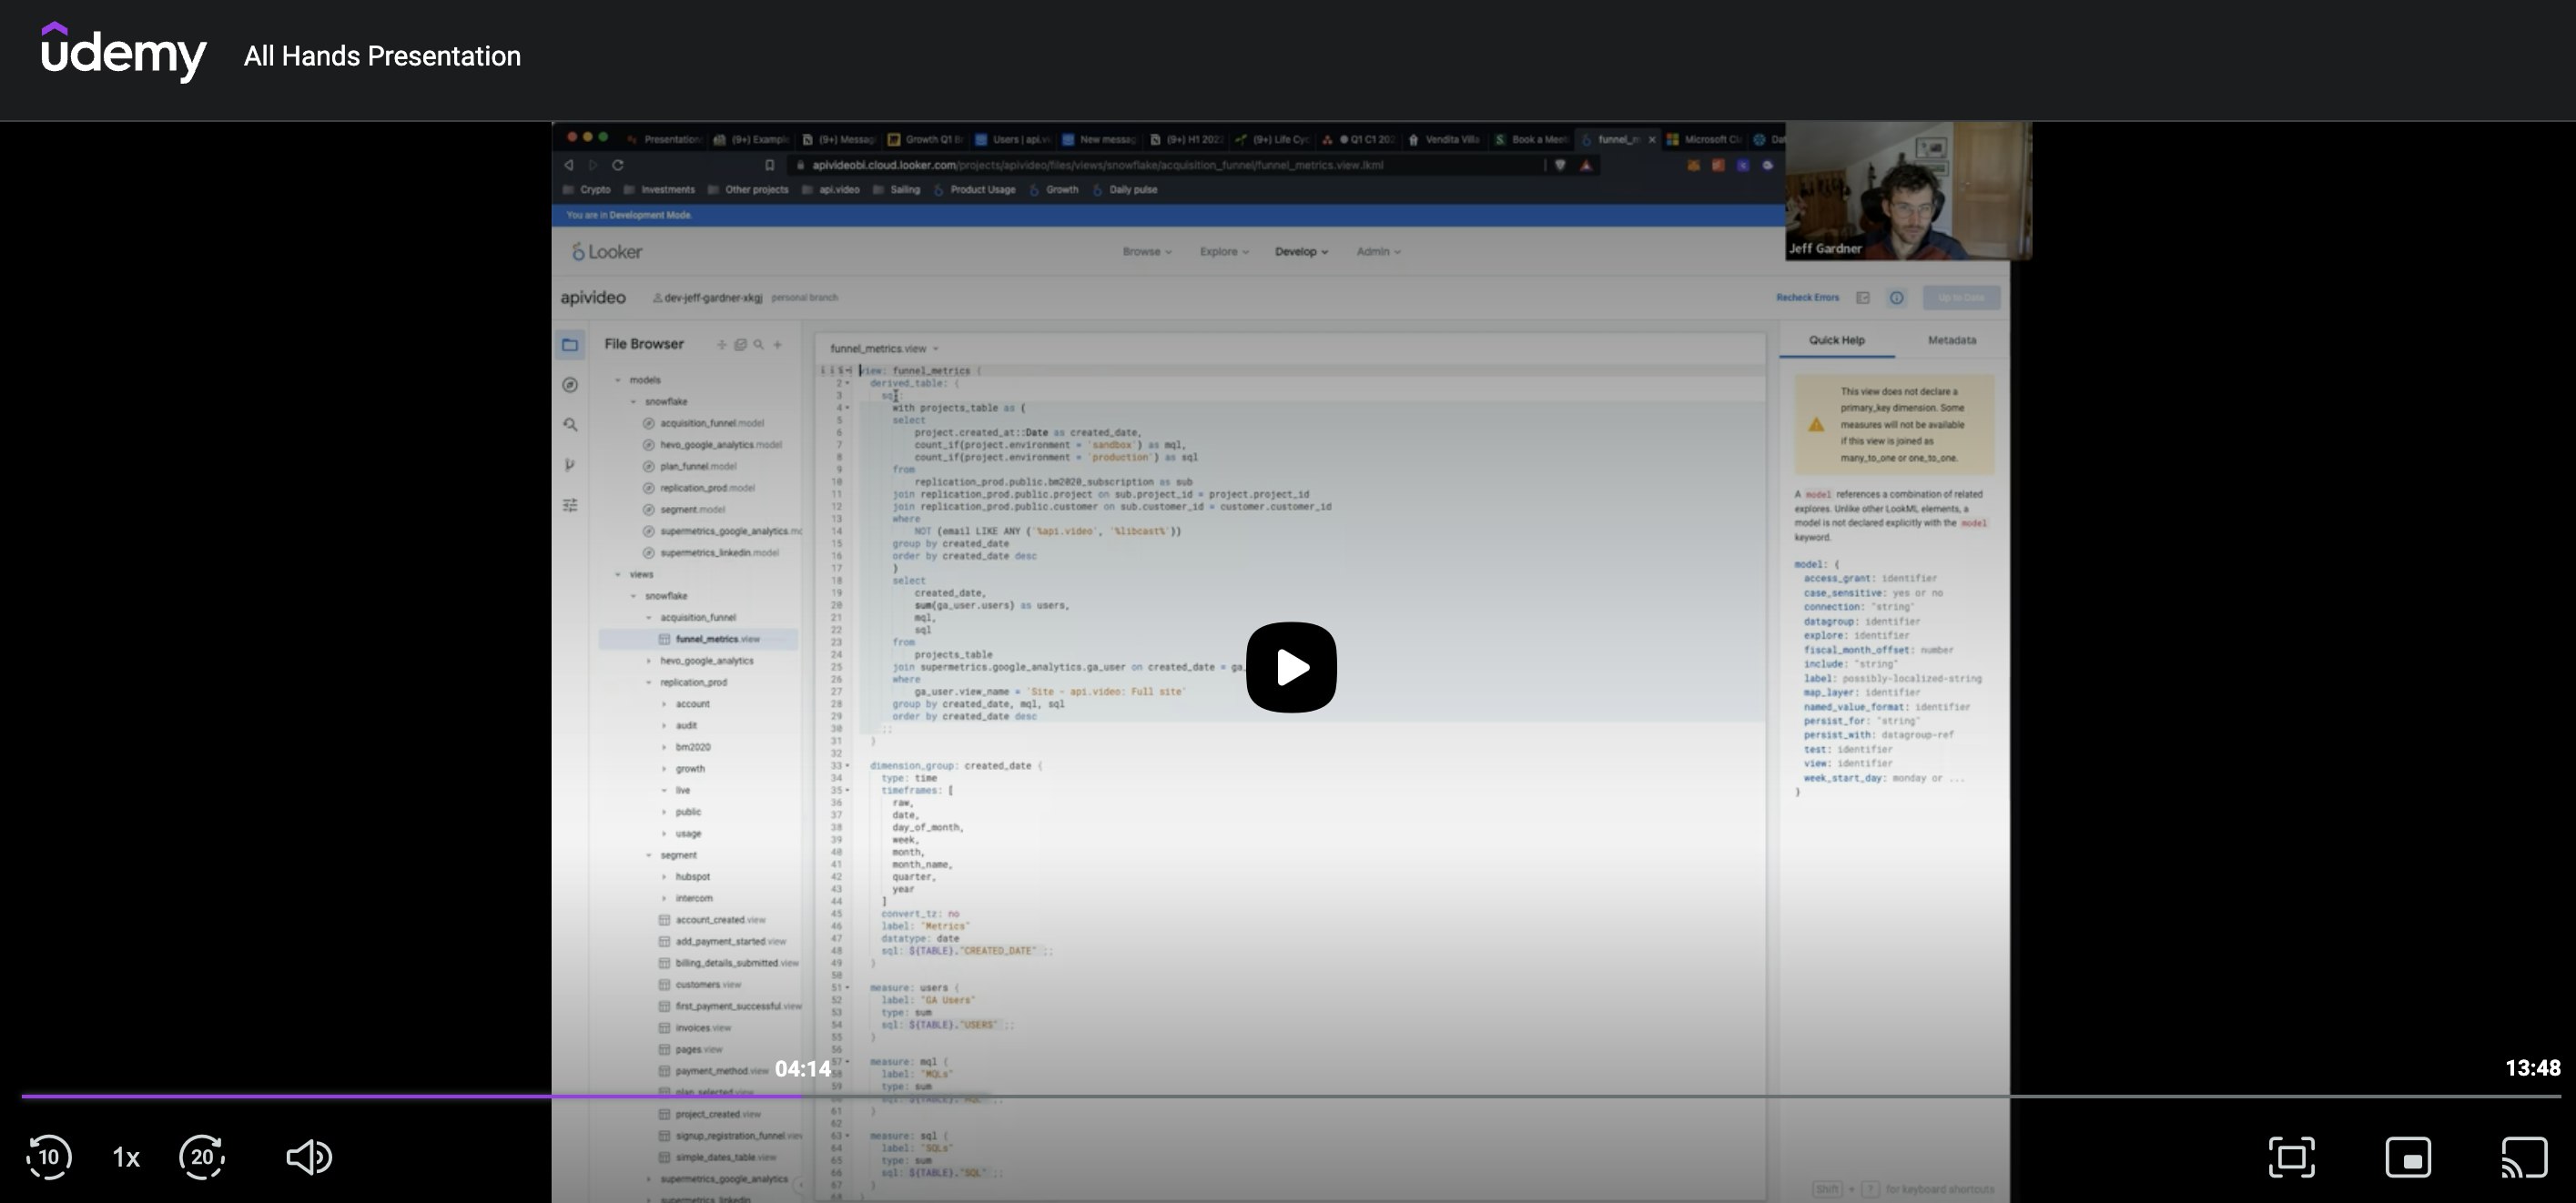
And this is how the player should look like
Set the player SDK in the state, and once it’s added to the state for use, we want to add a few more features when the player is ready with addEventListener('ready', callback). ready means the player is loaded and ready to play, so here we can customize the theme to Udemy’s player colors, and get the total duration of the video for the Overview tab display.
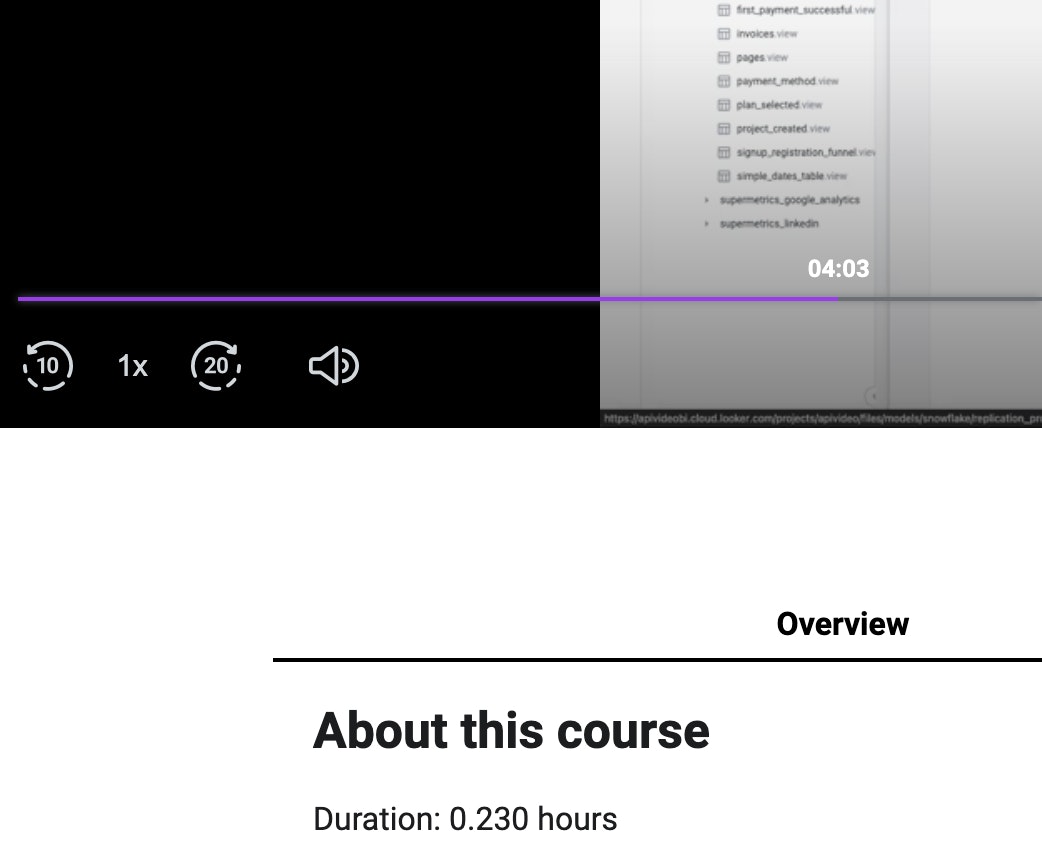
We can do that with the SDK’s setTheme() and getDuration() methods. I’ve put the methods in separate functions to keep the code clean.
// components/Video/index.tsx
useEffect(() => {
    if (playerSdk) {
      // 1. In this EventListener we can activate our player SDK methods when the player is ready to use
      playerSdk.addEventListener('ready', () => {
        setPlayerTheme(); // <-- playerSdk.setTheme({...})
        getDuration(); // <-- playerSdk.getDuration()
        playerSdk.hideControls(['more']);
      });
    }
  }, [playerSdk]);
Read more about the player SDK methods and event listeners here.
The duration we get from the SDK is in seconds, so I’ve added a conversion to hours function in utils/functions.ts
// utils/functions.ts
export const getSecondsToHours = (seconds: number) => {
    return (seconds / 3600).toFixed(3);
};
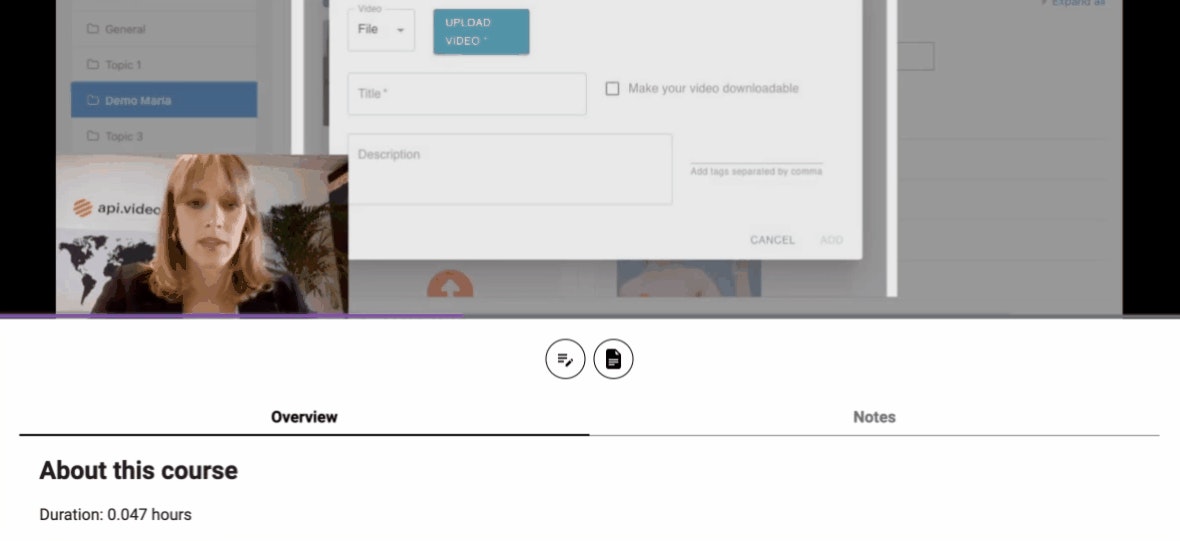
And this is the result! 🎉 A player with custom colors and with duration information.
Bookmarking a video - How to listen to a player’s timestamp?
In this part, we'll focus on how to add a note to a video’s specific timestamp! We can achieve that by using api.video player SDK that we set in the previous step.
To create a bookmark in a video, we need to constantly listen to the video’s playback. The idea is that once we click on ‘Add Note,’ the video will pause, and we can write and save a note on its timestamp.
So our next step is to add a timeupdate event listener, then set it to the state called currTimestamp. Make it an object of minutesFormat and seconds because we want to have a formatted minutes display but also a seconds value for some of the player SDK methods.
  // Listen to the player's timestamp for notes
  playerSdk.addEventListener('timeupdate', ({ currentTime }) => {
    setCurrTimestamp({
      minutesFormat: getMinutesFormat(currentTime),
      seconds: currentTime,
    });
	// Save the video's timestamp in localStorage
	localStorage.setItem(`time_${videoId}`, currentTime);
  });
Save the video’s timestamp in the localStorage to keep track of the video’s playback. We’re going to use it to show progress later.
I chose to format our seconds to mm:ss display, but you can choose whatever format you like, just add it in our utils/functions.ts
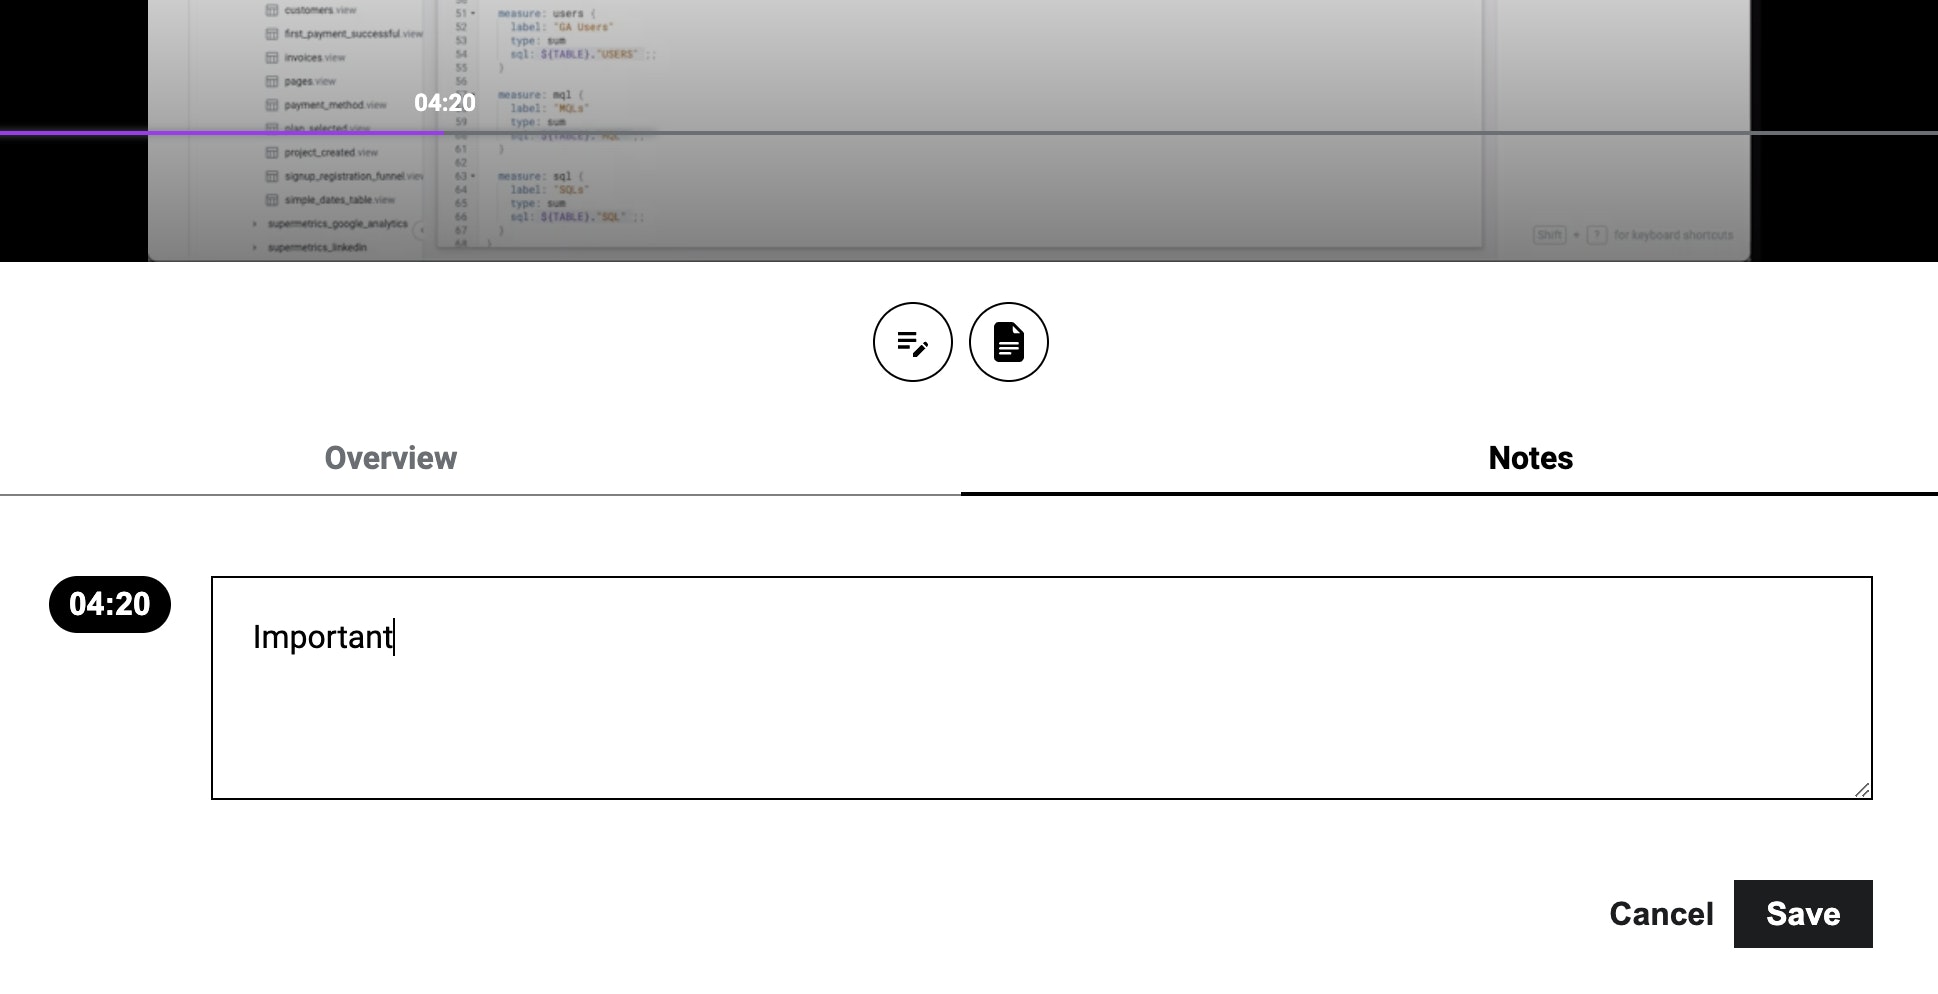
And we’re set! 👏 At this point, we have our currTimestamp in the state, and we can now create a note button that will pause the video when we click on it with playerSdk.pause() method, then open the Notes tab with an input on the current timestamp.
I’m saving the notes in an object state where the key is our formatted mm:ss timestamp, and the value is an object of note and seconds. For the simplicity of the demo, the notes are saved in the local state.
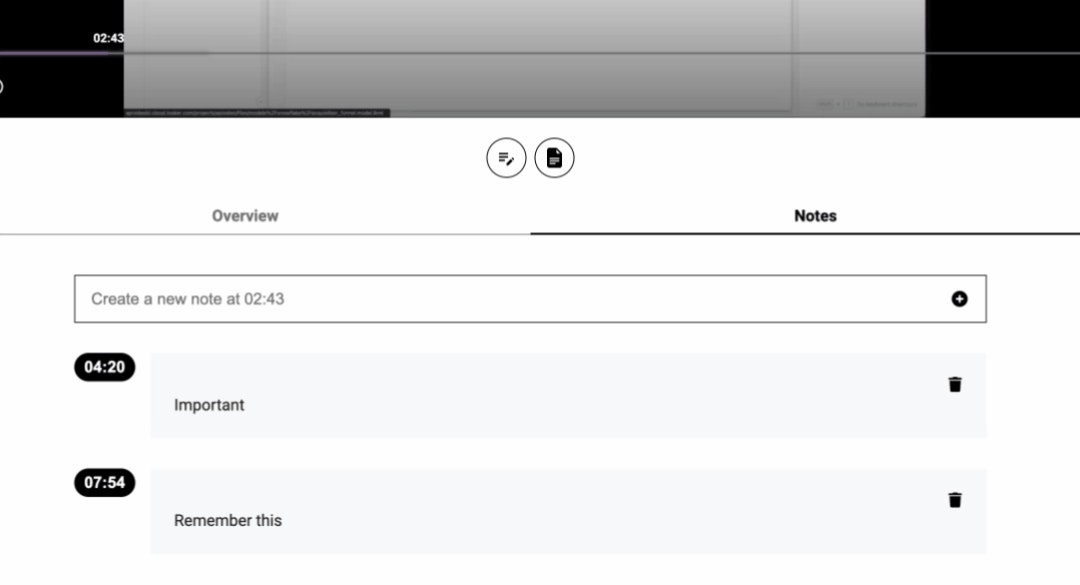
Suppose you go straight to the Notes tab without deciding which timestamp you want or after saving a timestamp. In that case, Udemy has a ‘Create a new note at’ button at the top, which has a changing timestamp value corresponding with the player’s playback.
This is easy to achieve since we’ve already set our currTimestamp in the state with a minutesFormat value. So when displayed in the button, it will change with the playback time, like this:
Now, after we have some saved notes, we want to be able to jump to the timestamp by clicking on the note’s timestamp button.
That’s going to be very simple - since we’re saving seconds in every note object we create, let’s map our notesList for display, then send notesList[key].seconds to our player SDK method playerSdk.setCurrentTime(seconds). This will set the player’s playback time to our desired seconds.
Display video progress
Remember we saved the video’s timestamp in our localStorage? Now it’s time to use it for creating a progress bar like this:
In our video preview component, create this function:
// components/ItemPreview/index.tsx
const getVideoProgress = async () => {
    // 1. Get video duration
    const response = await fetch(`/api/status`, {
      method: 'Post',
      headers: {
        'Content-Type': 'application/json',
      },
      body: JSON.stringify({
        videoId: video.videoId,
      }),
    });
    const result = await response.json();
    setVideoDuration(result.metadata.duration);

    // 2. Check if the video's timestamp is saved in localStorage
    const storedTime = localStorage.getItem(`time_${video.videoId}`);
    if (storedTime) {
      setVideoPaused(parseInt(storedTime));
    }
  };
First, we’re calling api.video GET video status API from which we can extract the total duration of our video.
Then we get the video’s last timestamp we saved in our localStorage with videoId.
Once you have the total duration and paused seconds, all you’ve got left is to choose how you want to draw the progress on the preview. I used Radix UI progress which is very easy to customize.
The same goes for when we click on a video and want to set it to the last paused timestamp. Extract the timestamp from the local storage, then use our player SDK setCurrentTime(seconds) method.
And voila! 🥳 Now we can display a nice progress preview on our videos and set a video to its last timestamp.
Conclusion
This tutorial taught us how to recreate a Udemy-like learning platform, focusing on their notes feature and video progress.
We achieved amazing, functioning results with the power of api.video’s player SDK, and Node.js client. The entire code is available for you here.
That’s it! 💪 Start building now and don’t hesitate to ask questions or share your project with us on the Community!
See you in our following tutorials 👋
Part 2 is available: Add AI-generated summary, topics, and transcript to your videos using symbl.ai
Follow our latest news by subscribing to our newsletter
Create your free account
Start building with video now

